
This plugin allows anyone to use Generative AI (GenAI) to create content for their WordPress website: text and images for their pages.
- Start by adding the plugin to your website, via your dashboard (Plugins -> Add plugin and search for Entgenai).
- Then activate the plugin. After activation, you will see some new entries in the Dashboard which allow you to configure the plugin, and to use it to generate content.
Let’s use it to create an image using Google Gemini’s model for images.
First we configure the plugin, specifying which API Service Provider we want to use, which model and our API Key:
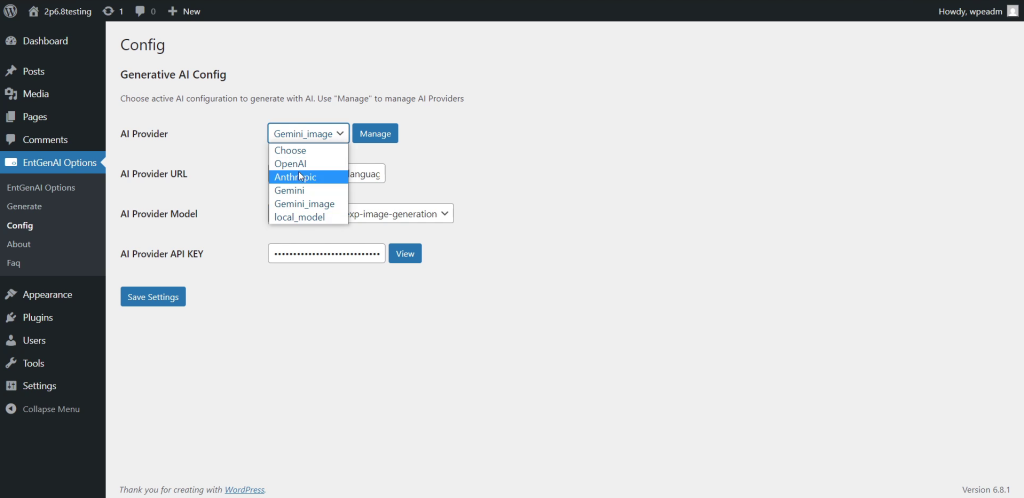
The plugin comes with a few pre-installed API Providers, but you can add new ones or modify those pre-installed.
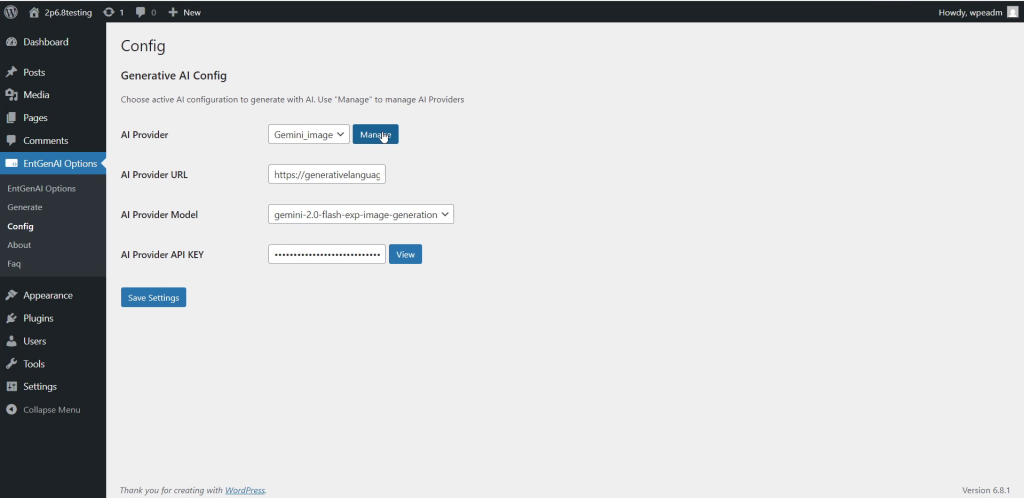
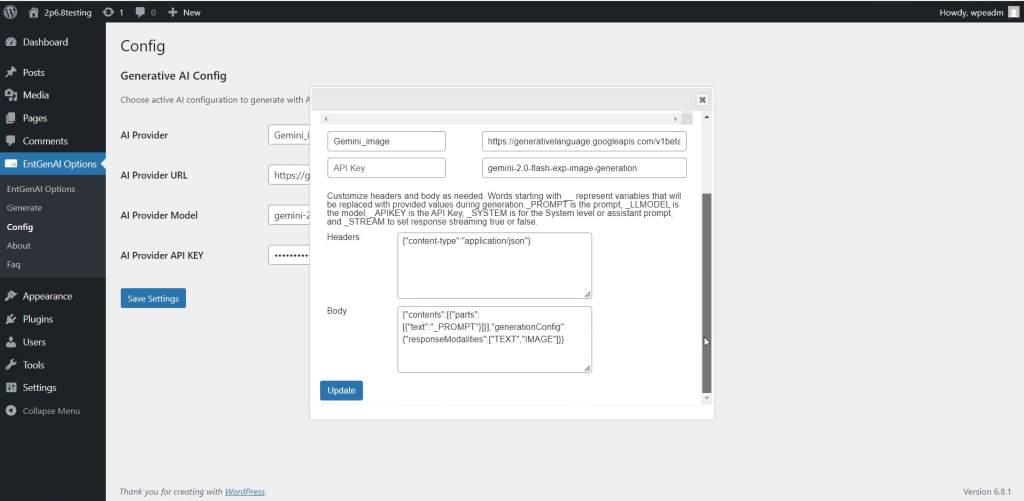
Just press on Manage, as above, and you will see a popup with a list of providers, an Add New button, and then the editable details of the selected provider.
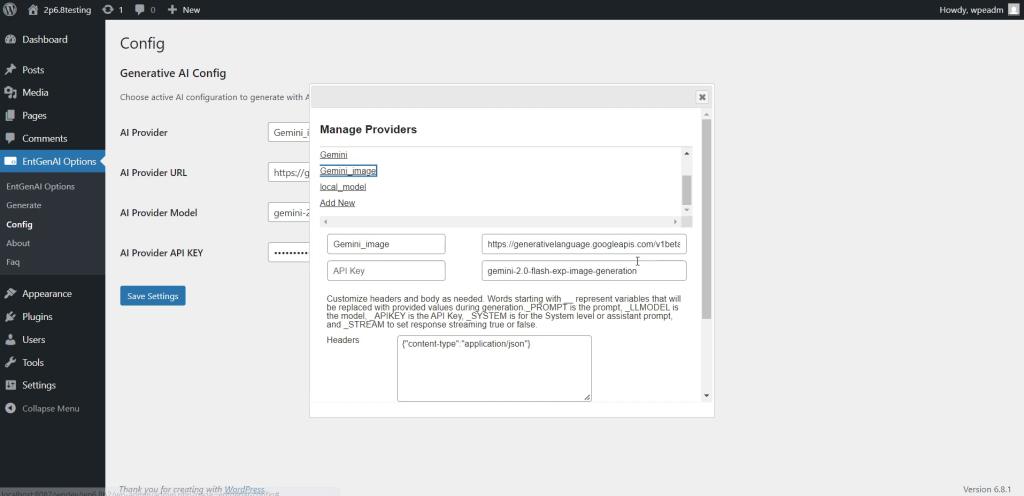
The provider details are very much as what you would find in their documentation, except for a few variables, which are used to populate the prompt, model, api key, system, and streaming preferences when selecting and using a given provider. Those variables start with _, and include _PROMPT, _LLMODEL, _APIKEY, _SYSTEM and _STREAM.
Once you save your configuration, using the “Save Settings” button (see Figure 2 above), you are ready to generate content using your chosen API. Pressing the “Generate” button on the left, brings up the following view:
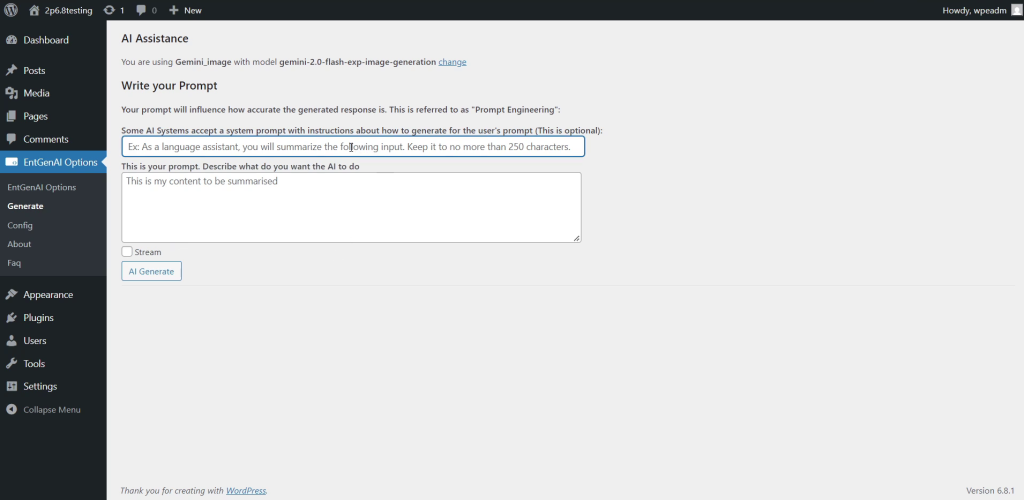
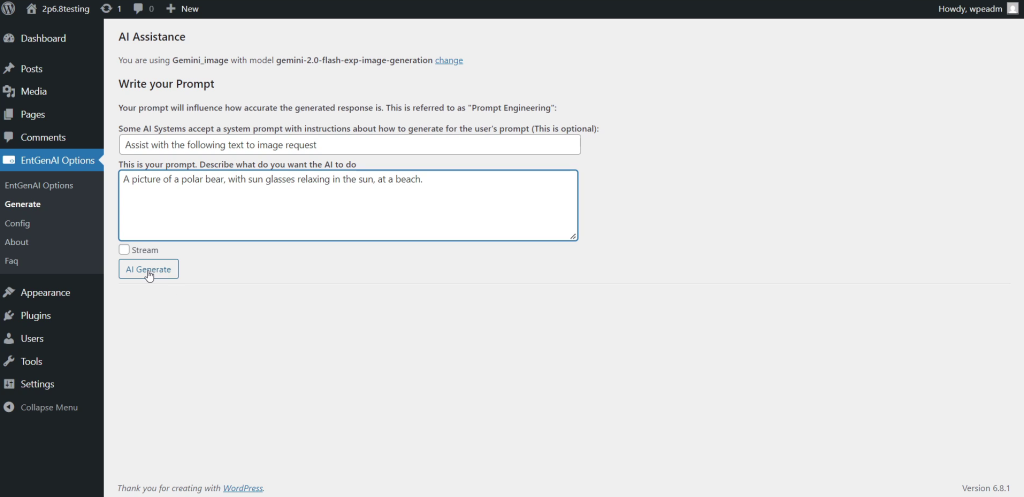
Enter a message for the assistant to prime its behaviour, like “you are a friendly assistant”, “you are an experienced teacher”, etc, and then write the specific prompt describing what you want to generate. For instance, “write an article about starting a marketing business”, or “create an image of a Lion reading a book about how to hunt alone”. Specify whether you want to receive the result at once, or whether you’d prefer to stream it. The press “AI Generate”.
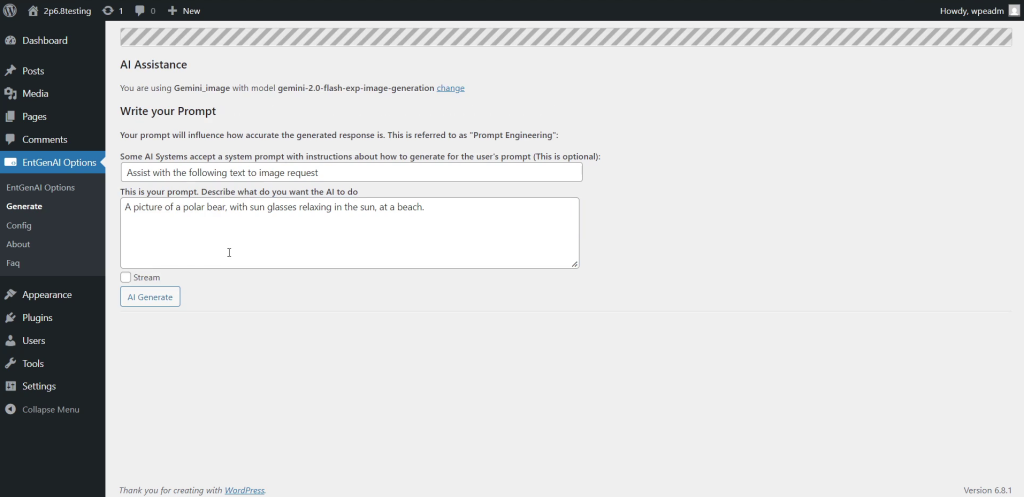
The bar at the top indicates your request is being processed.
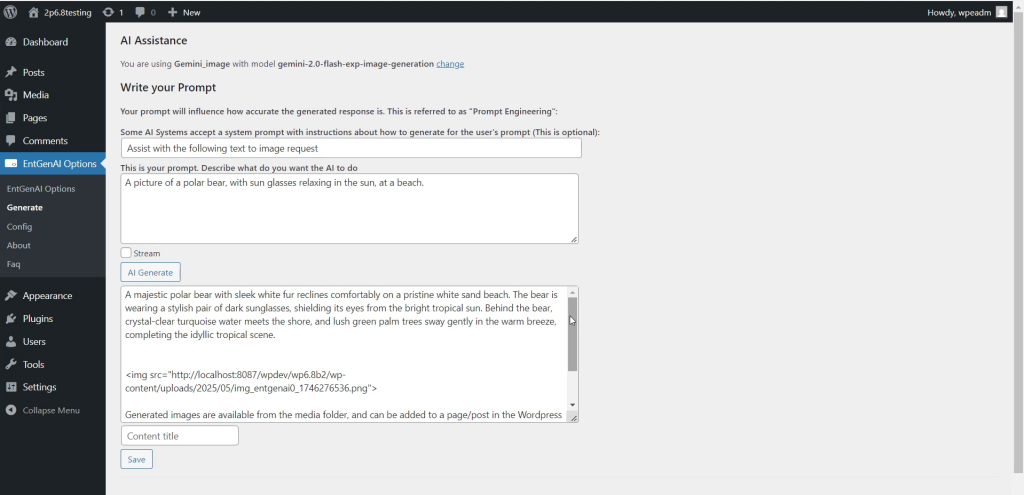
Generated content shows below the “AI Generate” button. Generated text will display in full, and you can choose to save it as a page (in draft), which you can then edit with the WordPress editor, as you would for any other page.
If you asked for an image, at this point you will only see image information, like the file name, and the fact that the image has been added to the media folder, as this is a text only control.
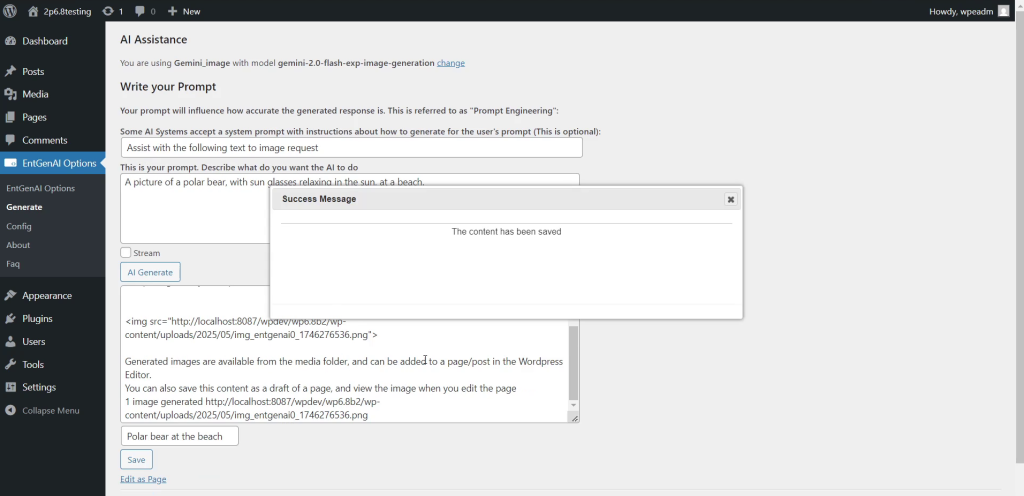
Let’s give it a title and save it as a page:

We receive confirmation that the content has been saved:
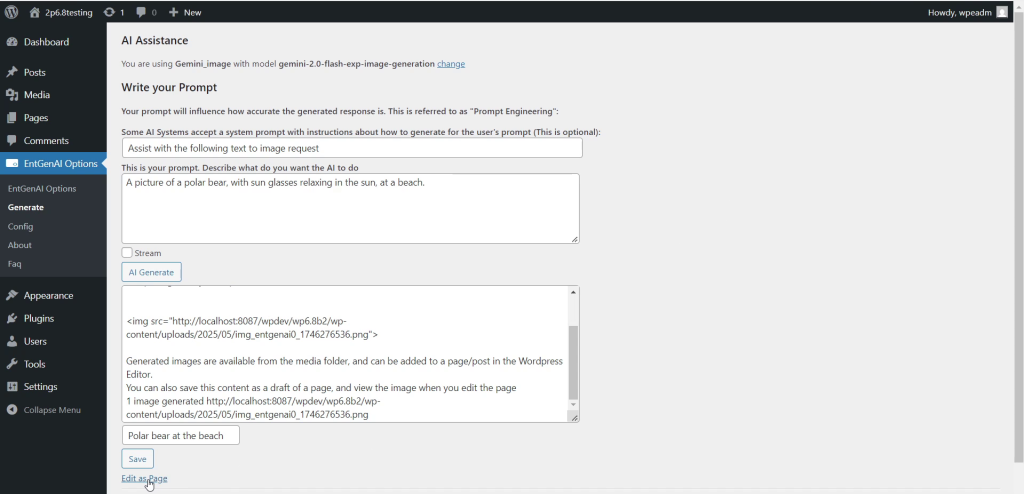
There is now also an “Edit as Page” button below “Save”. After closing the confirmation dialog, we can press on it:
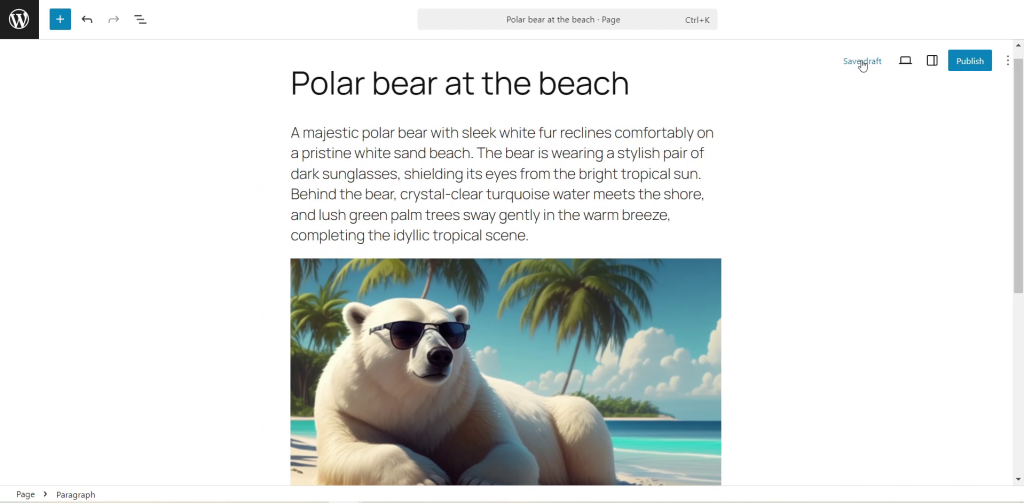
Now, finally, we can see the generated image on the page:

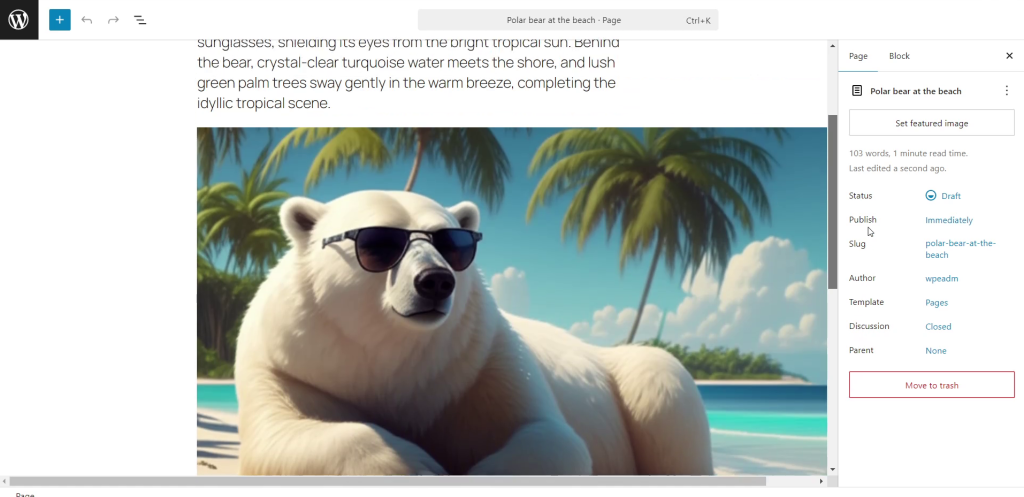
The image looks too wide compared to our paragraphs, let’s convert everything to blocks

Clicking on that top paragraph will show the menu, and we can now choose “Convert to blocks”, which will lead to paragraphs and images becoming blocks with the same width.
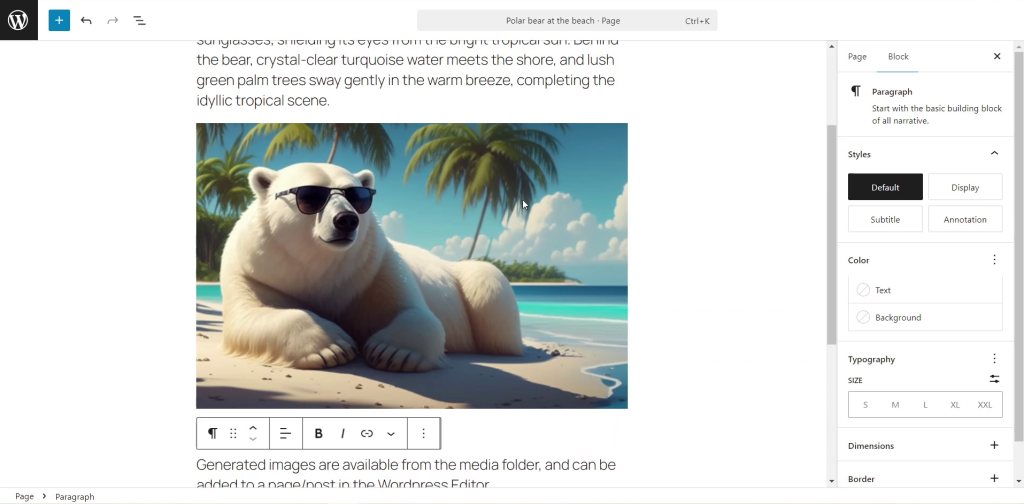
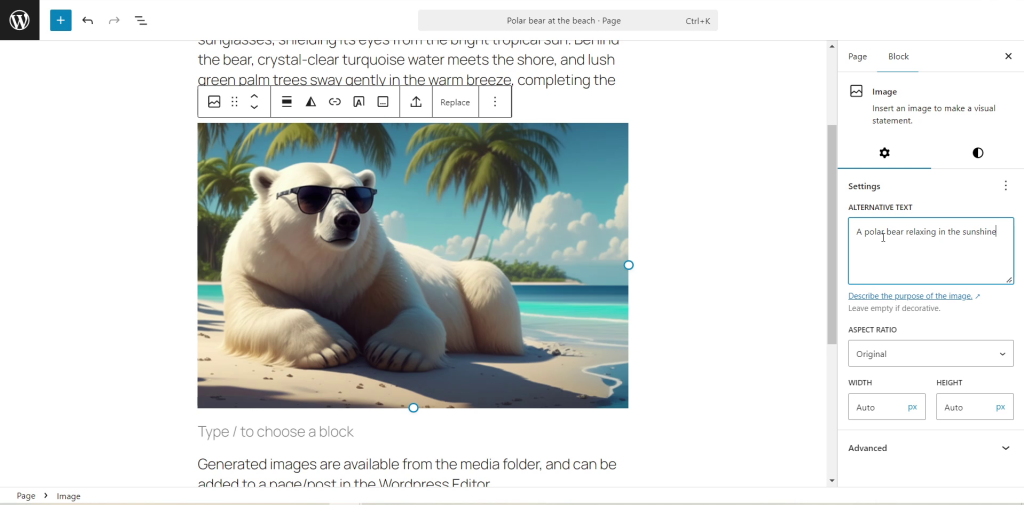
We can now press on the Image block and write an Alt text for the image, on its right.
Finally, we can get rid of unwanted text, add other text, and save and preview or publish our page.
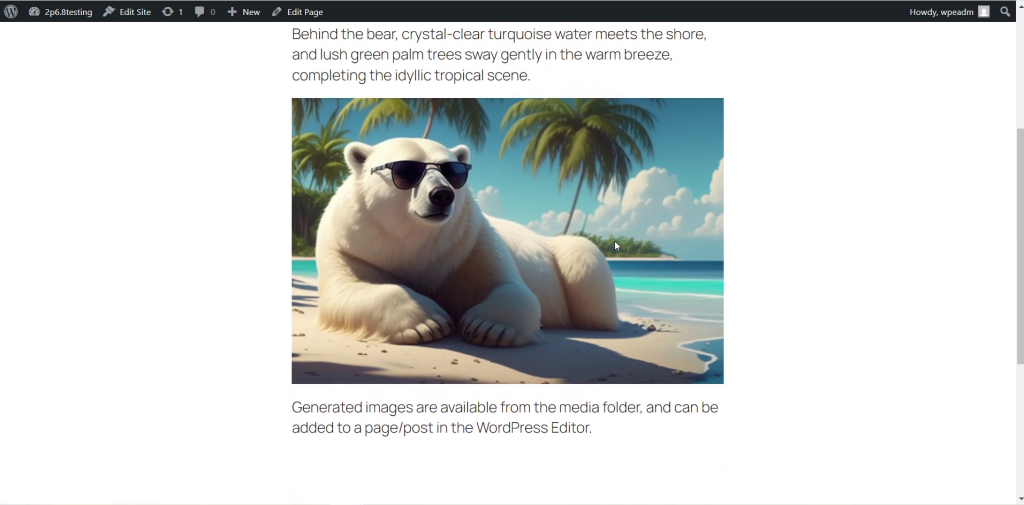
That’s it, thank you for reading. Give it a try and publish your own Ai assisted creations! 🙂